


Tired of cracked grout, dingy walls, or a sad backsplash?...
Thank you for reading this post, don't forget to subscribe!Read More


Tired of cracked grout, dingy walls, or a sad backsplash?...
Thank you for reading this post, don't forget to subscribe!Read More
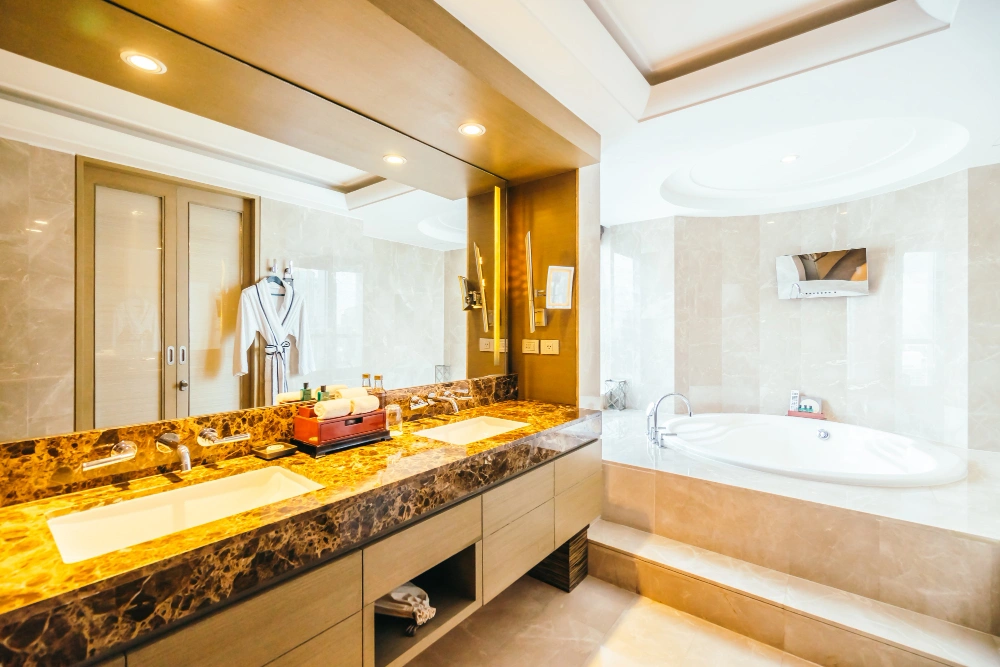
Want a bathroom that feels like a boutique hotel luxe...
Read More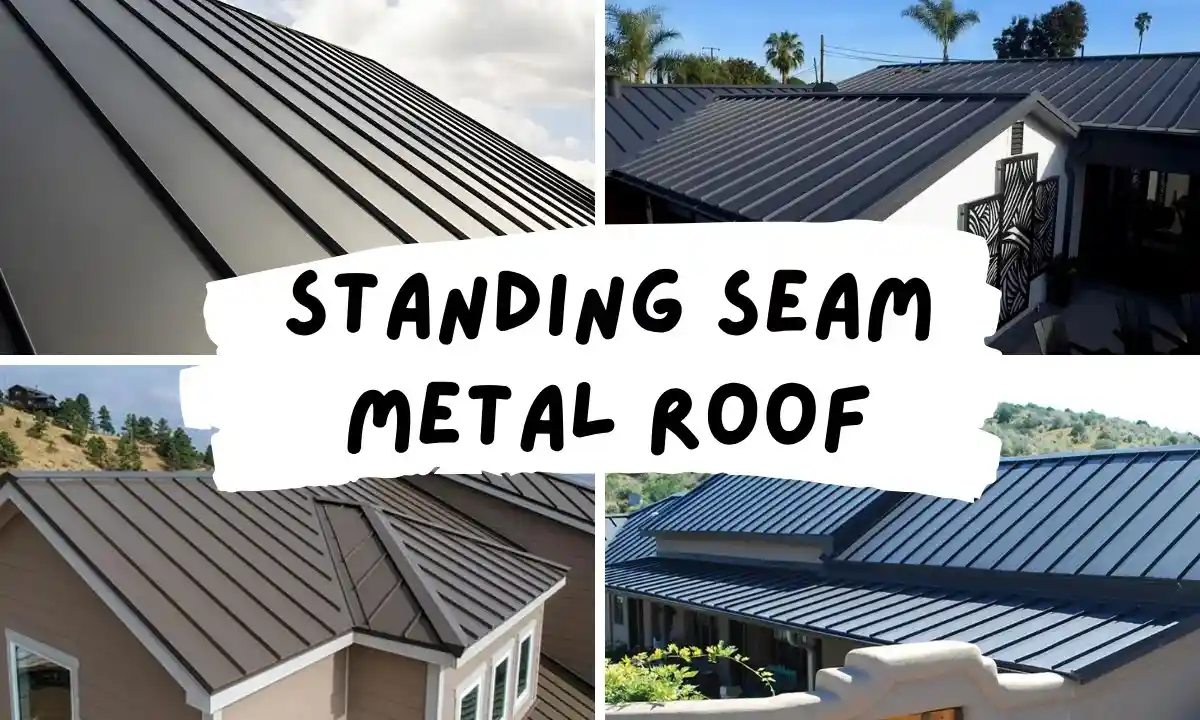
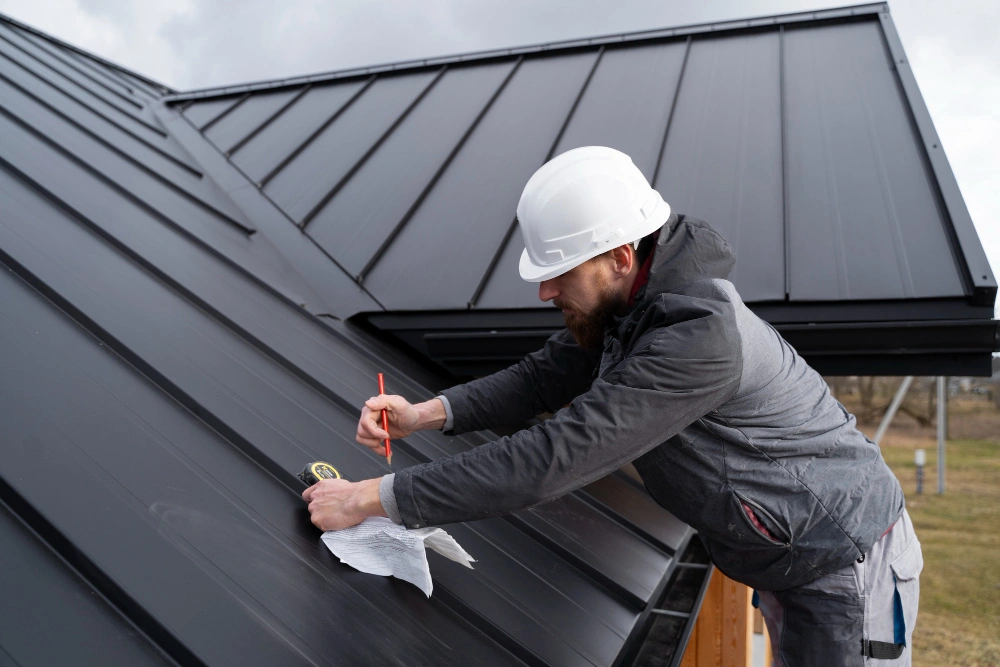
Homeowners today want roofing that’s more than functional; they want...
Read More
A roof is much more than the shingles or tiles...
Read MoreTired of cracked grout, dingy walls, or a sad backsplash? Learning how to tile a bathroom wall is one of the most impactful DIY projects you can tackle! It’s durable, offers a custom look, and completely revitalizes the feel of your space. If you’re a beginner looking for a comprehensive tiling bathroom wall guide, this
Want a bathroom that feels like a boutique hotel luxe without the boutique hotel price tag? How To Transform An Old Bathroom For Just $4000 is not clickbait, it’s a practical roadmap based on real under-budget renos that finished at $3,471 and $3,698. This guide shows you how to plan, where to spend, and where
Homeowners today want roofing that’s more than functional; they want style, durability, and lasting value. A standing seam metal roof delivers all three. This clean vertical seam roofing system uses concealed fasteners as part of superb engineering. It is more than a passing fad; it is a lifetime investment.Thank you for reading this post, don’t
A roof is much more than the shingles or tiles you see from the road-it is an engineered system of interlocking parts that defines the shape, strong-ness, and protection of your home. It is the shelter’s skeleton of hidden roof framing components that distributes loading, resists wind, and structurally holds everything together.Thank you for reading

When a hurricane is on the horizon, your home’s first line of defense is its roof. A sturdy, well-designed hurricane proof roof can mean the difference between minor repairs and catastrophic failure. Beyond curb appeal, the right roofing system safeguards your property, loved ones, and peace of mind.Thank you for reading this post, don’t forget

As the air turns crisp and leaves begin their golden show, a natural craving for warmth and an inviting vibe fills our homes. The good news? Achieving that cozy autumn feel doesn’t require a fortune spent on boutique seasonal pieces. With just a little creativity, you can craft DIY fall decor that feels high-end, deeply

"I was completely lost when it came to repairing my old roof, but this blog made everything so simple! The step-by-step roofing guides helped me understand what materials I needed and how to choose the right contractor. Thanks to the tips I found here, I saved a ton of money and avoided unnecessary repairs